How to teach a dog to shake is usually easier than people expect, but only if you set it up so your dog can “win” quickly and understand what earns the reward.
A lot of shake training fails for one simple reason, we rush the dog past the first tiny step and accidentally reward the wrong movement. Then the dog gets confused, you get frustrated, and the trick starts feeling harder than it needs to be.
This guide keeps it practical, you’ll get a clean step-by-step plan, quick fixes for common issues like pawing too hard or jumping, and a simple way to make the behavior reliable around distractions.
What “Shake” Really Means (and Why Clarity Matters)
Before you train, decide what you want the finished behavior to look like. “Shake” can mean a gentle paw placed in your hand, or it can turn into frantic swatting if the criteria stay fuzzy.
- Clear goal: dog sits, lifts one paw, rests it in your palm for 1–2 seconds, then releases on cue.
- Common accidental goal: dog paws repeatedly at your hand, scratches your skin, or hops forward.
According to the American Kennel Club (AKC), rewarding the exact behavior you want in small steps helps dogs learn faster and with less confusion. For shake, that means rewarding calm, not chaos.
What You Need Before You Start (Set Yourself Up for Quick Wins)
Keep the setup simple. When people ask how to teach a dog to shake “easy,” the real secret is reducing friction: better treats, shorter sessions, and a low-distraction spot.
- Treats: pea-sized, soft, and high value (think tiny chicken, cheese, or a favorite training treat).
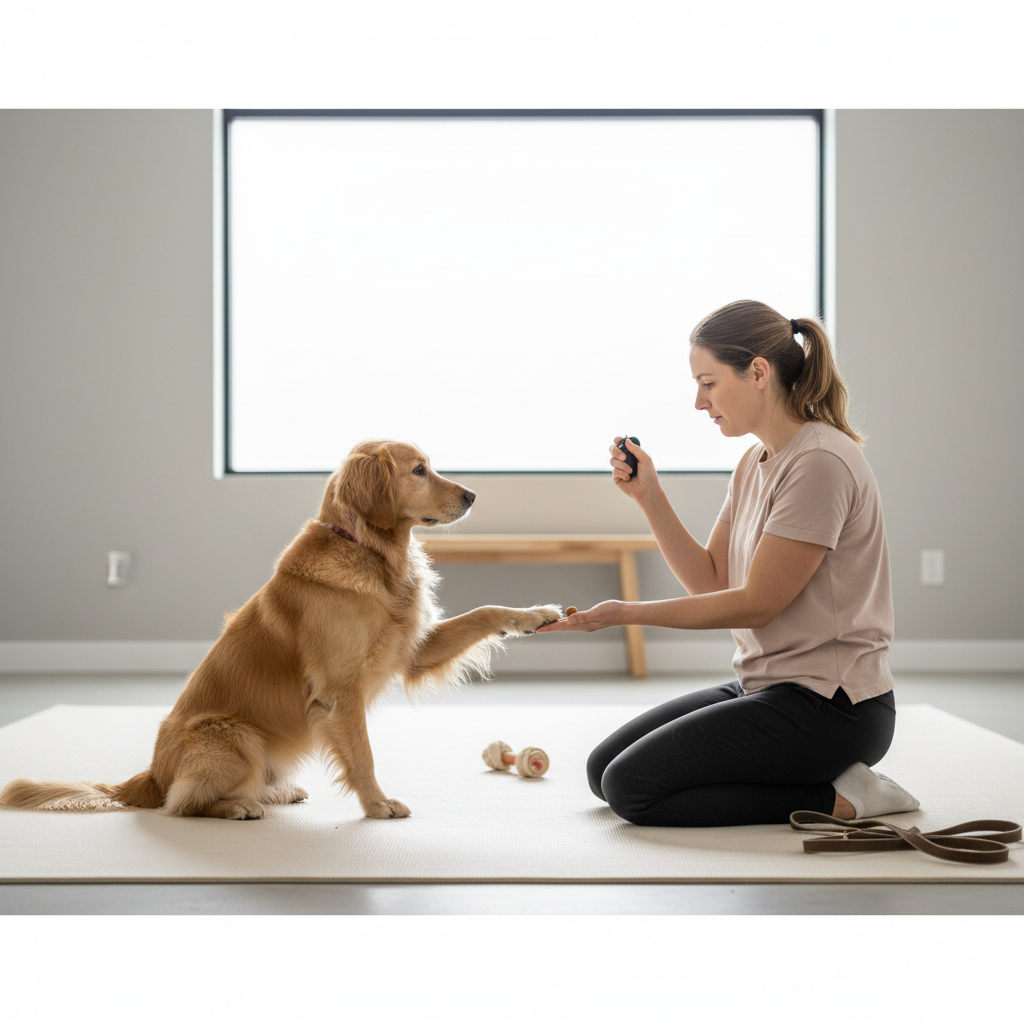
- Marker: a clicker or a consistent word like “Yes.”
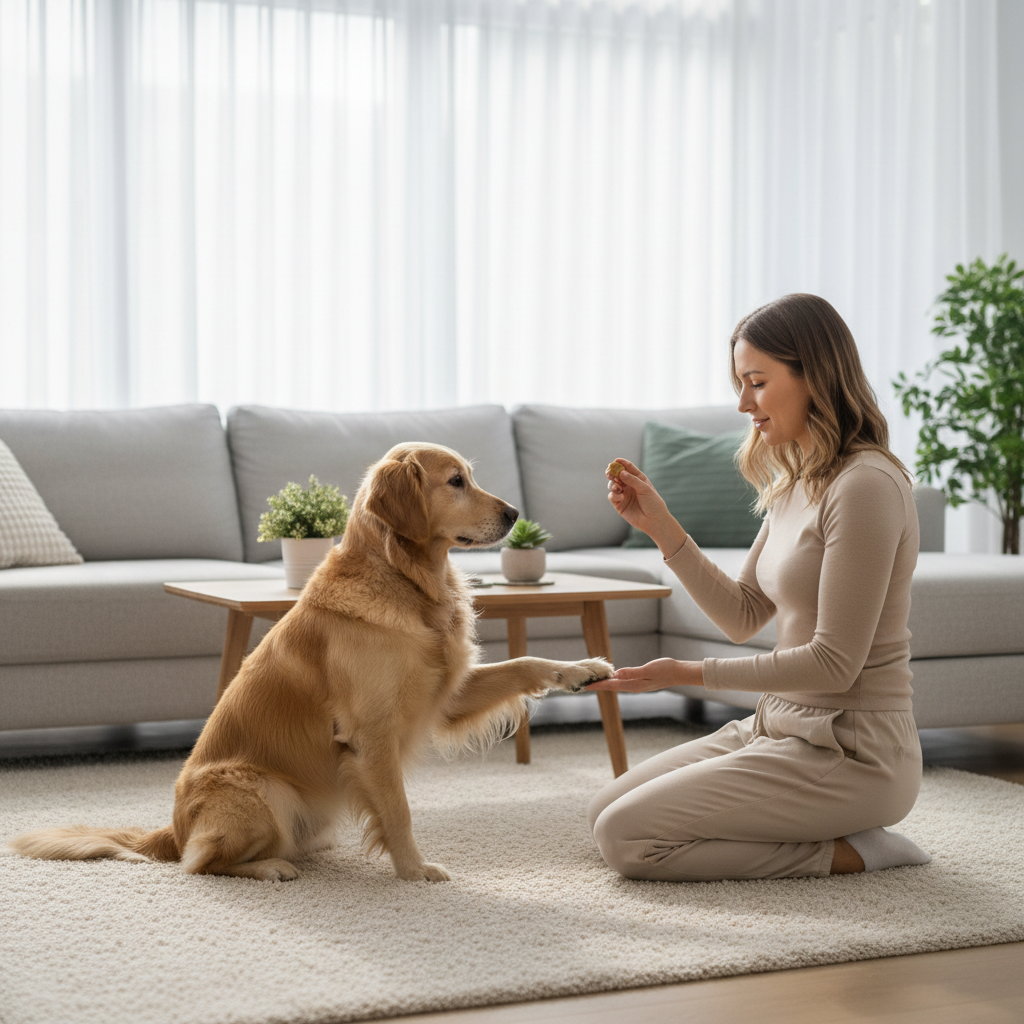
- Positioning: dog in front of you, ideally sitting, you kneel or sit to avoid looming over them.
- Session length: 2–5 minutes, stop while the dog still wants more.
If your dog gets mouthy or overexcited around food, consider using a spoon with peanut-butter-style spread or a treat pouch with slower delivery, and if you’re unsure what’s safe for your dog to eat, ask your veterinarian.
Step-by-Step: The Easiest Way to Teach Shake
This method uses “capture and reward” with gentle prompting. You’re not forcing the paw, you’re creating a moment where lifting the paw becomes the obvious choice.
Step 1: Ask for a sit (optional but helpful)
Start with a sit if your dog knows it. Sitting reduces jumping and makes the paw movement clearer.
Step 2: Present your hand, then wait
Hold your open palm a few inches in front of your dog’s chest. Many dogs will naturally lift a paw to investigate. The instant the paw lifts even slightly, mark (“Yes”/click) and reward.
Step 3: Reward paw lifts, then paw touches
After 5–10 reps, raise the bar: only mark when the paw touches your palm. Keep your hand steady, don’t chase the paw.
Step 4: Add a tiny “hold”
When your dog is touching your hand reliably, wait half a second before you mark. Build to 1–2 seconds. If your dog pulls away, you moved too fast, go back a step.
Step 5: Add the cue word
Say “Shake” right before you present your hand. Repeat for several successful reps. Then test: say “Shake,” pause one beat, present your hand. If the paw comes up, you’re on track.
Step 6: Add a release cue (recommended)
Use “All done” or “Okay” and then remove your hand. This helps prevent “sticky paw” where your dog keeps offering the paw nonstop.
Quick Self-Check: Why Your Dog Isn’t Shaking Yet
If you feel stuck, it’s usually one of these issues, and the fix is often small. Here’s a fast checklist to diagnose what’s happening.
- My dog stares at the treat and freezes: you may be luring too much or holding the treat too close to their nose.
- My dog jumps up: session too exciting, treat value too high for the environment, or you’re training when they’re already amped.
- My dog paws hard/scratches: you rewarded frantic pawing early, now you need to reward only gentle contact.
- My dog won’t lift a paw at all: they may be uncomfortable, distracted, or unsure; try a quieter spot and reward any micro-movement.
- My dog offers shake nonstop: no release cue, or too many reps without breaks.
According to the ASPCA, positive reinforcement training works best when rewards are immediate and consistent, which is why your timing matters more than your words here.
Common Problems and Fixes (Real-World Troubleshooting)
When people look up how to teach a dog to shake, they’re often dealing with one annoying snag. Use the fix that matches your dog’s pattern.
If your dog mouths your hand
- Switch to treating with the opposite hand and keep your “shake hand” still.
- Reward calm paw contact, end the rep if teeth touch skin.
- Try a closed fist as the target at first, then open palm later.
If your dog swats repeatedly
- Only mark when the paw lands softly, ignore rapid-fire hits.
- Lower your hand position slightly, fast swatters often overshoot.
- Add the “hold” step earlier, even half a second can slow the behavior.
If your dog refuses because of slippery floors
- Train on a rug or yoga mat for traction.
- Keep sessions shorter, discomfort can look like stubbornness.
If your dog shakes only with one person
- Have a second person repeat the same steps with the same cue and hand signal.
- Lower criteria at first, reward any paw lift with the new person.
If you suspect pain (limping, yelping, avoiding paw use), pause training and consult a veterinarian, tricks should not push through discomfort.
Make Shake Reliable: A Simple Training Plan You Can Actually Follow
Reliability comes from repetition in different contexts, not from drilling 50 reps in one sitting. Spread practice across your normal day.
- Days 1–2: quiet room, 5 reps per session, 2–3 sessions per day.
- Days 3–5: add small distractions, different rooms, different times.
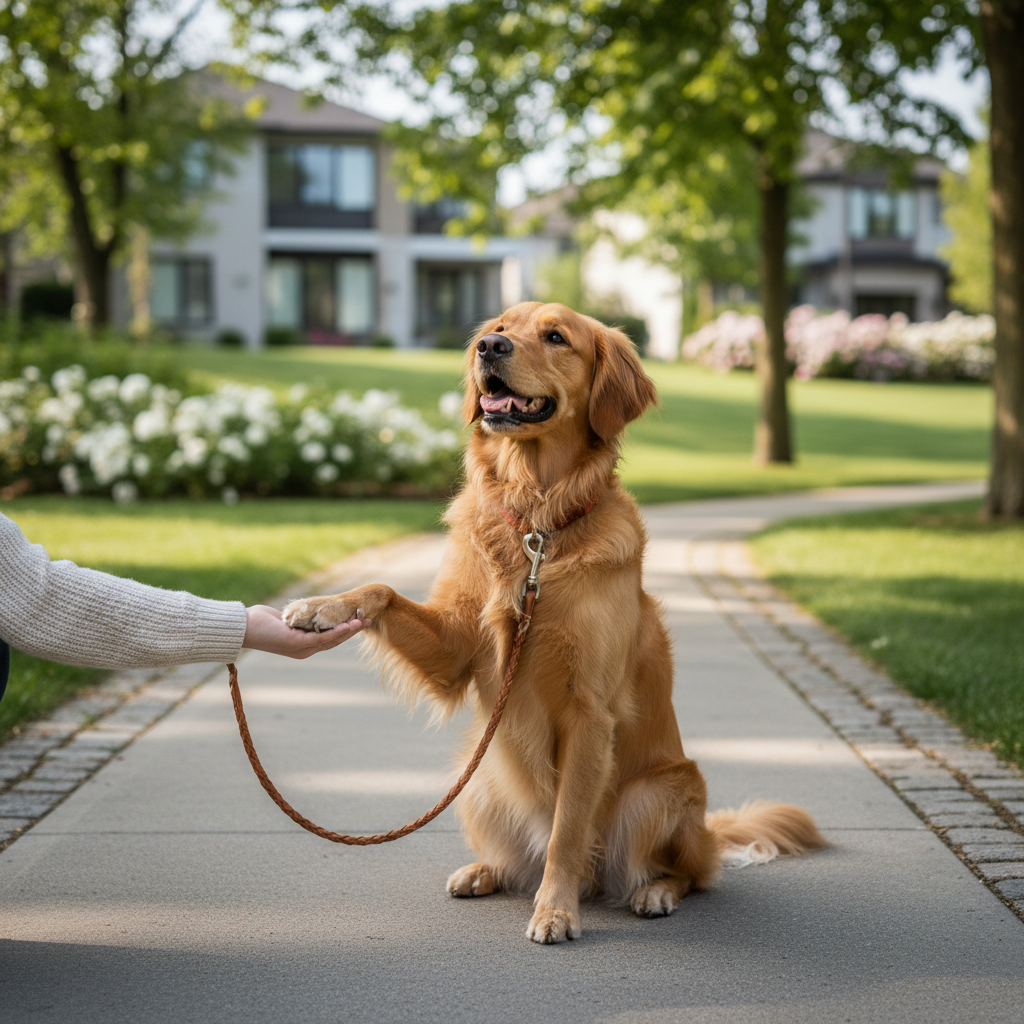
- Week 2: practice on walks (briefly), with visitors, near the front door.
One underrated move, vary rewards once the behavior is predictable. Sometimes give a treat, sometimes praise and a quick pet, so your dog keeps listening rather than gambling for constant snacks.
Hand Target vs. Paw Prompt: Which Method Fits Your Dog?
There are two common routes, and neither is “wrong.” The better one depends on your dog’s temperament and your timing.
| Method | How it works | Best for | Watch out for |
|---|---|---|---|
| Wait & capture | Offer your palm, mark paw lift/touch | Dogs that experiment and offer behaviors | Can be slow if dog is hesitant |
| Gentle paw prompt | Lightly touch/brush leg to encourage lift, then mark | Dogs that need a hint to get started | Don’t grab or pull the paw, can create resistance |
| Hand target first | Teach “Touch” to your hand, then shape into paw-to-hand | Food-motivated dogs, clear communicators | Dog may nose-bump instead of lifting paw |
If you’re teaching kids to train the dog, the wait-and-capture approach tends to keep things safer and calmer, fewer accidental tugs on joints.
Key Takeaways (So You Don’t Overthink It)
- Reward tiny paw movements early, then shape toward a gentle touch and short hold.
- Say the cue right before the hand signal, not during or after the dog already moved.
- Short sessions beat long sessions, especially if your dog gets excited.
- Fix frantic pawing by rewarding calm contact, not by repeating “shake” louder.
- Generalize slowly so the trick works outside your living room.
When to Get Extra Help
If your dog growls when you reach toward their paws, consistently avoids using one leg, or shows signs of anxiety that escalate during training, it’s smart to slow down. A certified trainer can help you adjust technique, and a veterinarian can rule out pain or mobility problems that make paw behaviors uncomfortable.
Conclusion: A Friendly Trick That Builds Better Communication
How to teach a dog to shake comes down to timing and clear criteria, reward the first paw lift, shape it into a gentle touch, then add the cue and practice in a few everyday places. Pick one approach, keep sessions short, and stop while your dog still feels successful.
If you want an easy next step, do one 3-minute session today on a rug, aim for five calm paw touches, and call it a win.