
Fish tank led light adjustable brightness sounds like a simple feature, but it’s often the difference between a tank that looks “okay” and one where fish color pops, plants grow steadily, and algae stays more manageable.
If your aquarium looks too dim, too blue, or you’re seeing algae spikes after a lighting change, brightness control is usually the first lever to pull. The tricky part is that “more light” helps plants only up to a point, then it starts rewarding algae and stressing certain fish.
This guide breaks down what adjustable brightness really means in real tanks, how to pick a light that fits your setup, and how to dial in a schedule that works without constant tinkering.
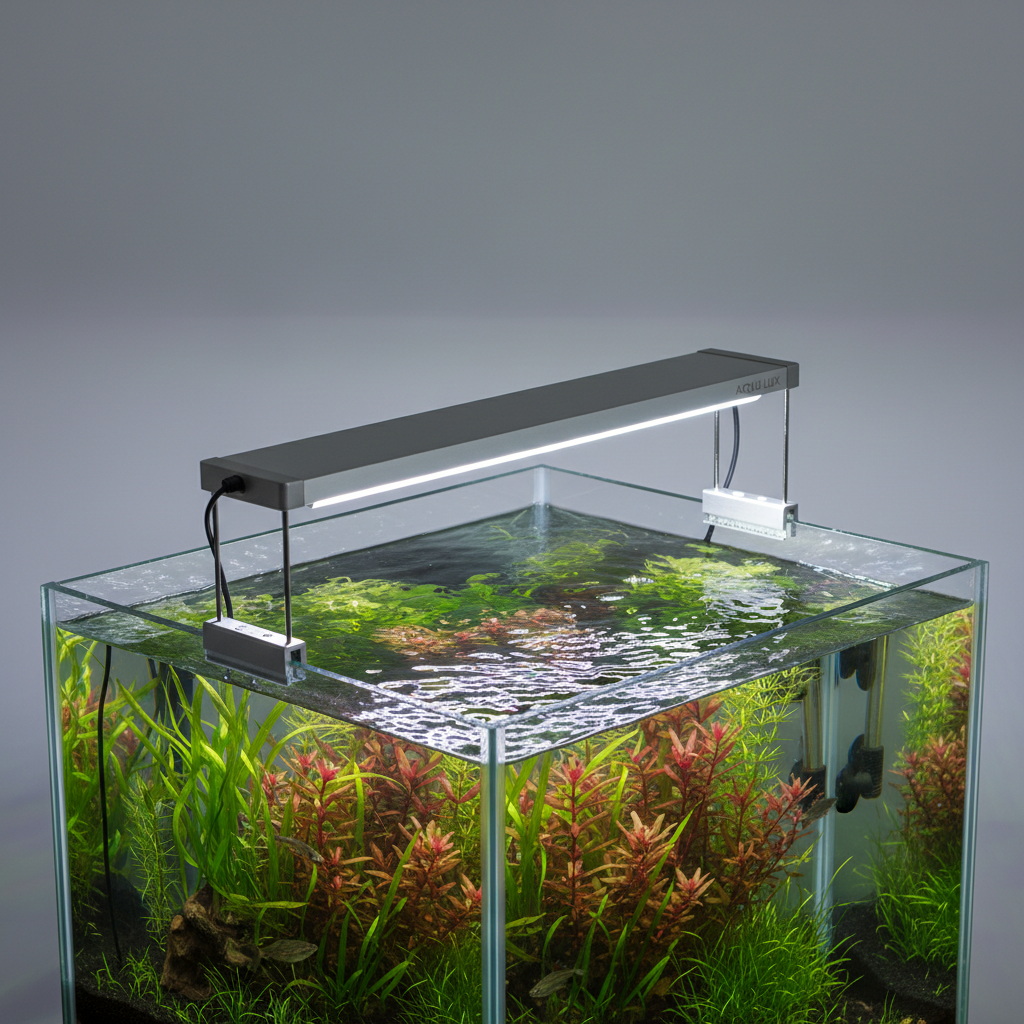
Why adjustable brightness matters more than most specs
People shop lights by watts, lumens, or “plant mode,” but in day-to-day use, adjustable output matters because your tank is not static. Plant mass changes, algae comes and goes, fish behavior shifts, even your room lighting changes seasonally.
- Plants respond to stability more than “maximum power.” If brightness can’t be tuned, you’re forced to fix issues with shorter photoperiods, which often makes the tank look off.
- Fish stress is real, especially with sudden bright starts. Dimmers plus ramp timers tend to reduce startle behavior in many community tanks.
- Algae is opportunistic. Many algae outbreaks start after “upgrading” to a stronger light and running it near 100% because it looks great.
According to the U.S. Food and Drug Administration (FDA), some LED products can pose risks if misused (for example, electrical safety or water exposure concerns), so choosing a reputable, aquarium-rated fixture and using it correctly is not just about looks.
Common reasons your tank looks too bright or too dim
Before you blame the fixture, it helps to separate “brightness to your eyes” from “usable light for plants.” A tank can look bright yet still struggle with plant growth if spectrum and distribution are poor.
Too bright: what it usually points to
- Long photoperiod (8–12+ hours) combined with high intensity
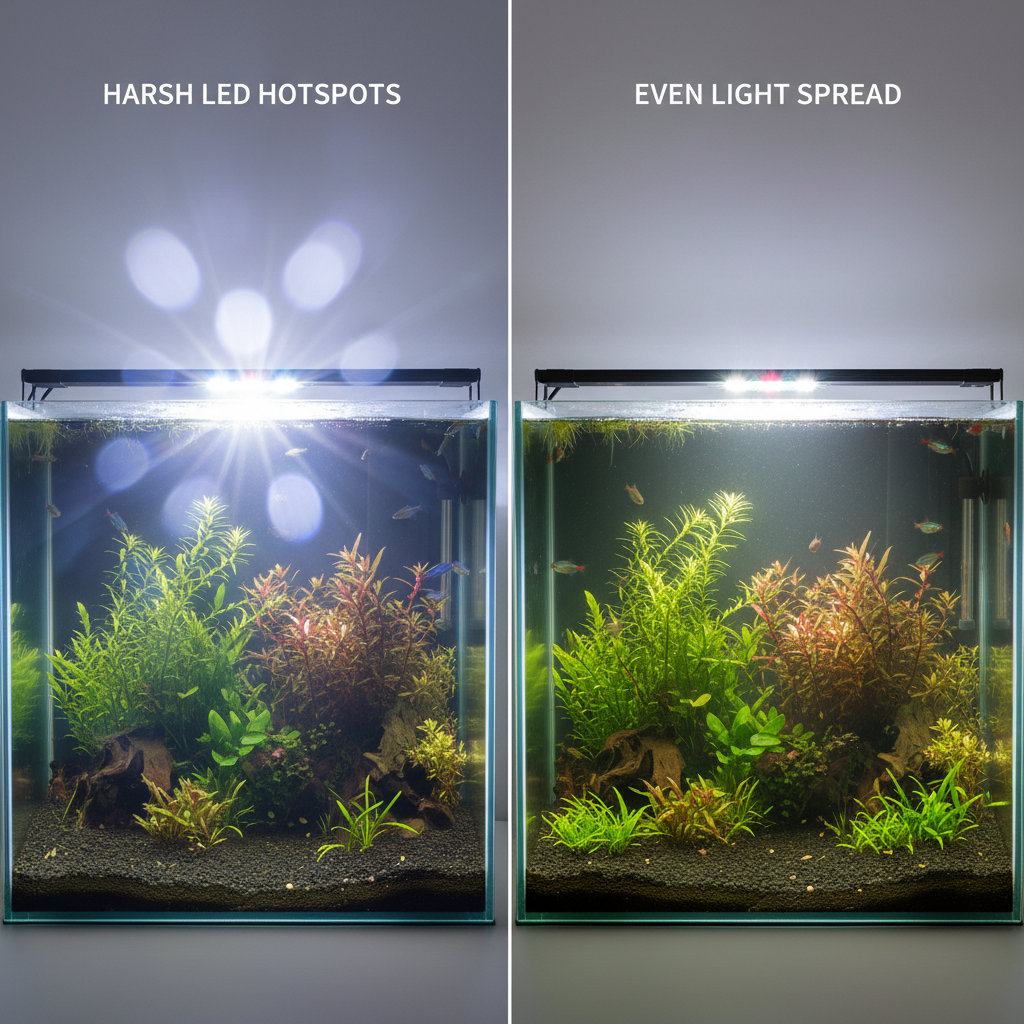
- Light sitting too close to the water surface, creating harsh hotspots
- Low plant mass, so excess light feeds algae instead of plants
- Clear water and pale substrate reflecting light upward, making glare
Too dim: what it usually points to
- Fixture too narrow for tank width, leaving dark corners
- Floating plants or lids blocking more light than expected
- Deep tanks needing stronger penetration, especially for carpet plants
- Low setting used to avoid algae, but plants never catch up
Quick self-check: what kind of setup are you lighting?
Brightness settings that work for a low-tech community tank can be a mess on a CO2-injected planted tank. Use this quick checklist to place yourself in the right “lane.”
- Tank depth: under 16 in (shallow), 16–20 in (medium), over 20 in (deep)
- Plant demand: low (anubias/fern), medium (stems), high (carpets/red plants)
- CO2: none, liquid carbon, pressurized CO2
- Livestock sensitivity: timid fish, heavy cover needed, or open-water fish
- Algae history: frequent outbreaks, occasional, rare
If you’re shallow + low-demand plants + no CO2, you typically need less intensity than you think. If you’re medium/deep + high-demand plants, dimming still matters, but it’s more about fine control than keeping things low.
How to choose the right adjustable LED light (without overbuying)
“Adjustable brightness” can mean a true dimmer, a few fixed steps, or an app with many levels. In practice, you want control that’s easy enough to use weekly, not just a feature you try once.
| Feature | Why it matters | What to look for |
|---|---|---|
| Brightness range | Lets you start low, then ramp up slowly | At least 5–7 usable levels, or 0–100% control |
| Even light spread | Reduces shadowing and algae-prone hotspots | Wide beam, good reflector/optics, correct fixture length |
| Timer + ramp | Smoother on/off, more consistent routine | Built-in timer or reliable external timer compatibility |
| Water resistance | Prevents corrosion, failures near water | Aquarium-rated splash protection, sealed housing where needed |
| Color control (optional) | Helps tune appearance, sometimes plant response | White-heavy for natural look; avoid extreme blue for daily use |
One practical take: if the interface is annoying, you’ll stop adjusting it. For most hobbyists, physical buttons with memory, or a simple app with presets, beats “infinite customization” that takes 10 minutes every time.
Practical brightness settings by tank goal (starting points)
There’s no universal number because brands measure output differently, but you can still use reasonable starting ranges and adjust based on plant growth and algae pressure. The goal is to find the lowest intensity that supports your plants and the look you want.
- Fish-only / decor tank: 20–40% brightness, 6–8 hours, prioritize even spread and pleasant color
- Low-tech planted (no CO2): 30–55% brightness, 6–8 hours, increase slowly after 2 weeks of stability
- Medium planted (some stems, maybe liquid carbon): 45–70% brightness, 7–9 hours, watch for algae on glass and slow growers
- High-tech planted (pressurized CO2): 60–100% brightness, 7–9 hours, only if nutrients and CO2 are stable
When people get stuck, it’s often this mismatch: they run high brightness without the nutrient and CO2 consistency that plants need, then wonder why algae wins. Dimming is not “giving up,” it’s control.
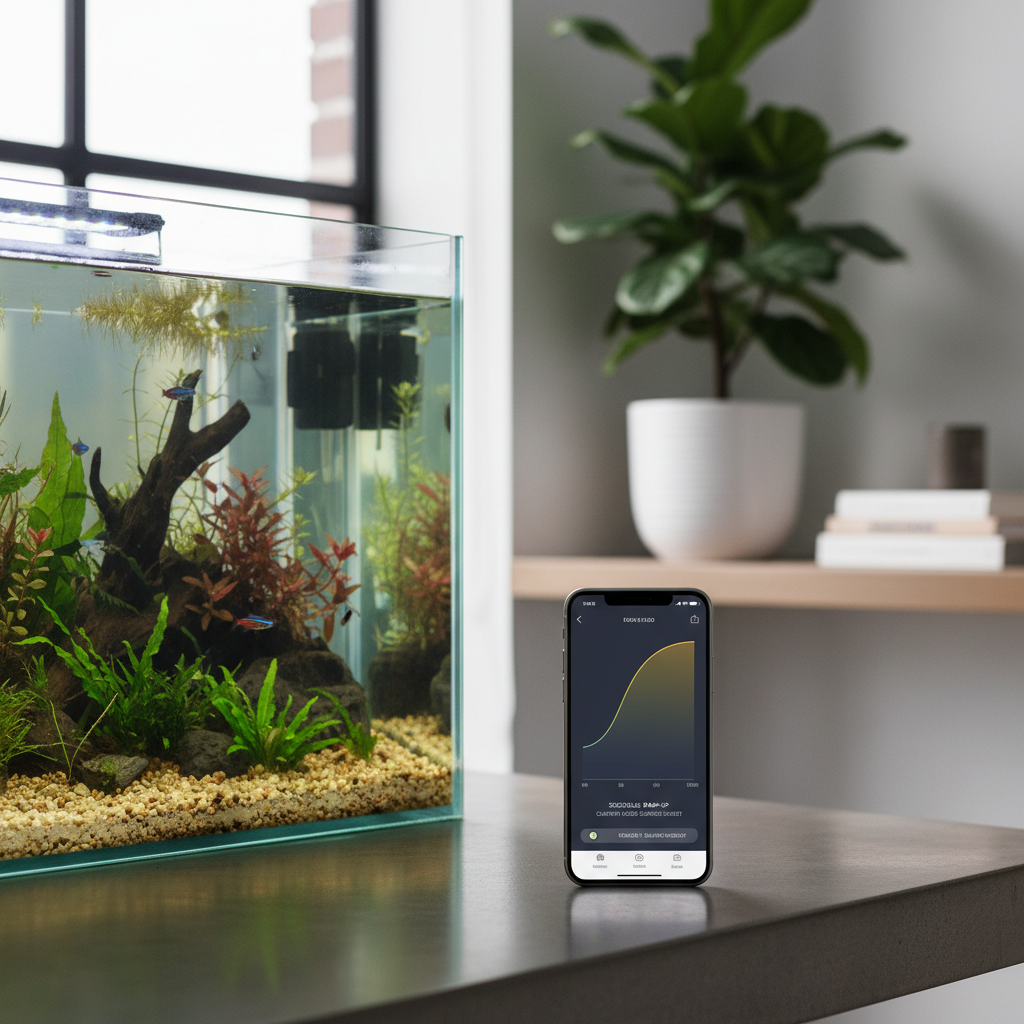
Step-by-step: dialing in brightness without triggering algae
If you want a simple process, use a “start low and earn your way up” method. It feels slow, but it saves weeks of cleanup.
1) Lock your photoperiod first
Pick 7 hours as a baseline. Keep it consistent for 10–14 days. Consistency matters more than chasing the perfect number daily.
2) Start at a conservative brightness
Try 30–40% for low-tech planted tanks, or 50–60% for CO2-injected setups. If your fixture uses levels, choose a mid-low level that you can repeat.
3) Increase in small steps
- Adjust once per week, not every day
- Move up about 5–10% (or one level) at a time
- Stop increasing when plants grow steadily and algae stays manageable
4) Use “algae signals” as guardrails
- Green dust algae on glass faster than usual often means too much light for your current nutrient/CO2 balance
- Hair algae on slow growers can mean intensity too high, or flow/CO2 issues, sometimes both
- Brown diatoms in newer tanks often fade with time, don’t automatically crank brightness
Key takeaways to remember
- Brightness and duration multiply, a small increase in both can be a big change for algae
- Even spread beats raw power for how the tank looks
- Stable routines usually outperform “perfect settings” that change constantly
Safety, mounting, and mistakes that waste your time
Most lighting problems that look biological are actually setup problems. A few checks up front prevent headaches.
- Keep drip loops on cords and avoid placing power bricks where splashes happen. If you’re unsure about electrical safety, it’s worth asking a qualified professional.
- Don’t slam from 20% to 100% after a water change because the tank looks extra clear. That’s a classic algae trigger.
- Be careful with “all blue” night modes. Some fish may react poorly, and it can encourage you to leave lights on longer than planned.
- Clean the lid and splash guard if you use them. Mineral haze can cut light and make you overcompensate with brightness.
According to the American Veterinary Medical Association (AVMA), stress can affect animal health. If you notice fish hiding constantly, rapid breathing, or unusual behavior after lighting changes, consider lowering intensity and reviewing your setup, and consult an aquatic veterinarian when symptoms persist.
When you may need extra help (or a different light)
Sometimes the issue isn’t your settings, it’s that the fixture can’t match the tank’s needs.
- Your tank has bright center and dark corners even at higher levels, that often suggests poor spread or wrong length
- You run very low brightness but still get algae, that may point to nutrients, flow, stocking, or maintenance patterns rather than light
- You want demanding plants in a deep tank and the light can’t reach the substrate evenly, upgrading optics/output may be more realistic
If you’re dealing with repeated algae outbreaks or sensitive livestock, getting input from an experienced local fish store, planted-tank specialist, or aquatic veterinarian can save money long-term, especially before major equipment changes.
Conclusion: what to do next
A fish tank LED light adjustable brightness feature pays off when you treat it like a tuning knob, not a trophy spec. Pick a steady photoperiod, start at a sensible intensity, then raise output slowly only when the tank “asks” for it through plant growth, not just because brighter looks cool for five minutes.
If you want one action today, set your timer to 7 hours and drop brightness slightly for a week, then reassess plant growth and algae pace with a calmer eye.
FAQ
- What brightness should I set my adjustable aquarium LED light to?
Most tanks do fine starting around 30–55% for low-tech planted setups and adjusting weekly. Your plants and algae response matter more than a specific number on a controller. - Can high brightness stress fish?
It can, especially if the light flips on suddenly or the tank has little cover. Ramp-up features, floating plants, and a slightly lower setting often help, and persistent stress signs deserve a closer look. - Is a longer photoperiod better than higher brightness?
Not automatically. Extending hours can feed algae just as easily as raising intensity. Many hobbyists get steadier results by keeping 7–9 hours and adjusting brightness gently. - Do I need adjustable brightness if I only keep fish (no plants)?
It’s still useful for comfort and aesthetics. You can reduce glare, keep colors natural, and avoid blasting timid species, without resorting to odd schedules. - Why did algae appear after I upgraded my LED light?
New fixtures often deliver more usable light than expected, even at mid settings. A quick fix is lowering intensity and keeping the schedule consistent while plants adapt and you rebalance nutrients. - Should I run blue light at night?
Many tanks do better with true darkness. If you use moonlight briefly for viewing, keep it dim and short, and watch fish behavior, some species may not appreciate it. - How do I know if my light spread is the real problem?
If plants only thrive directly under the center while corners stay dull, or you see bright hotspots with shaded areas, spread is likely limiting you. A longer fixture, better optics, or different mounting height can help more than raw brightness.
If you’re shopping for a new setup or trying to stop constant algae resets, a light with easy dimming, a reliable timer, and smooth ramping is usually the more “set-and-forget” path, and it makes it easier to adapt as your tank grows in.